Contour and Highlight Brush
2022.05.29 / By hqt
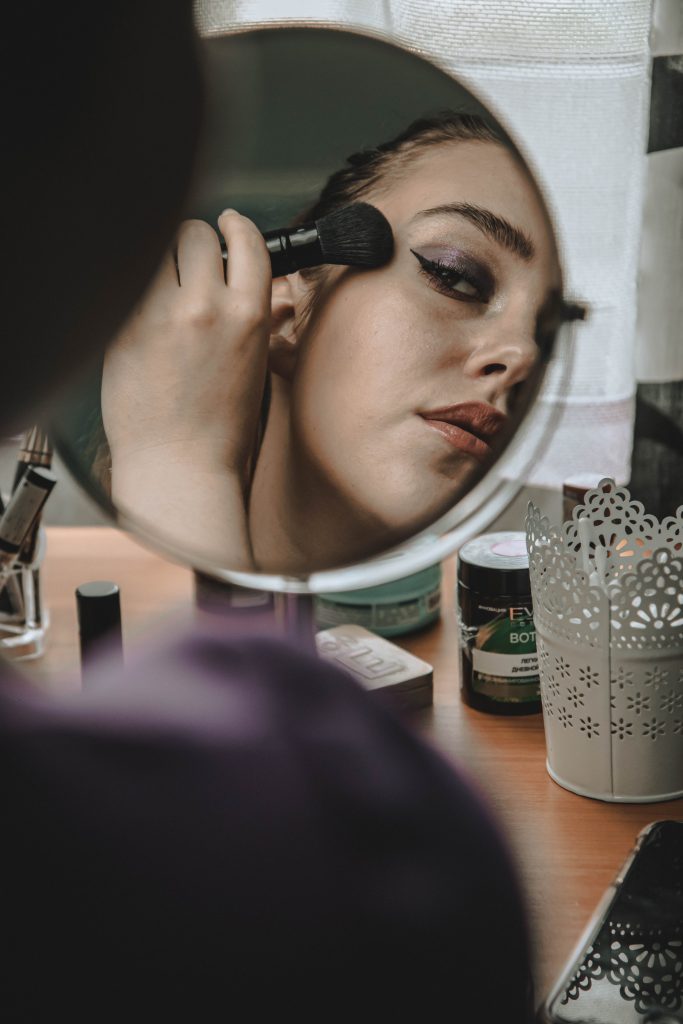
Contouring and highlighting may appear difficult, but they can be simple with the correct tools and approaches. These two makeup sculpting tricks have become the new trend. Whether you are wearing a heavy or light coverage foundation, highlight and contour are necessary. But the perfect sharp and enhanced featured look can only be achieved with the ideal contour and highlight brush because the right brush is as important as the right procedure.
As we all know that a brush is an integral part of makeup, it decides what your finishing makeup look would be like. Therefore, we recommend that you always pay attention to the type and kind of brush you are using. An ideal brush can take your usual look into an outstanding one.
What Exactly Is Contouring?
Contouring is essentially the use of shade or shadows to give a sense of recession. Contouring can be used to define or sculpt your facial features. The portions that have not been darkened or tinted stand out! This makes your cheekbones appear more prominent, your nose appears narrower and even helps you lessen the appearance of your much-loved soft under the chin. A perfect contour and highlight suddenly morph you into a more sculpted Adonis.
What Exactly Is Highlighting?
When you utilize the highlighting approach, you do the opposite of contouring. The parts with this lighter color or sheen will be highlighted and more noticeable. You may assist in emphasizing the regions of your face that naturally catch the light by using a highlighter or a strobing effect. To avoid the frosted cupcake appearance of the early 2000s, use a highlighter with undertones that compliment your skin tone for the right subtle sheen.
Contouring brush:
The brush you choose is also determined by the style you wish to achieve. We have described the best and most affordable brushes for a flawless makeup look.
The MHYA Contour Brush and the highlight brush collection have the perfect brushes. They are ultrasoft with denser and fluffier bristles to let you have a smooth finish, and these brushes may be used separately or combined to get your desired sculpted appearance.
The MHLAN Special Champagne Color Powder Brush has densely packed bristles in an oval head, which most makeup artists recommend. The thicker the brush, the more control you'll have over the coverage and the more faultless the finish. It's like the idea of buffing. Less thick bristles provide a more loose feel; they will certainly give you an airbrushed or fuzzy impression. You may use your contour brush as your blush brush, but it's best to have a separate brush to avoid muddled colors and to avoid cleaning your brush every time you use it. This speeds up and smooths out the makeup application process.
When should I use contouring & highlight?
After applying your foundation, add your contour, highlighter, and blush. Make sure to use a good quality contour and highlight brush so that you may get your desired looks. Some individuals like to do their eye makeup before contouring, but you may do it after you have perfected your smoky eye.
Tips and tricks for using a contour and highlight brush:
The more popular highlight and contours are, the fewer people know how to apply them with brushes exactly. We have gathered the best guidelines and tricks for getting an ideal model makeup look. Let's have a good look at them.
5 simple steps to how to use contour and highlight brush?
Contour and highlight are long-lasting trends. They make and enhance the illusion of a beautiful jawline across the face and can conceal any curves or edges you don't want to draw attention to. Everyone is fascinated with obtaining wonderfully bright skin with highly sparkly highlighters. We'll show you how to contour your face, apply a highlighter, contour and highlight your face, guide you through each stage, and utilize the tools to complete the job!
STEP 1: Choose a Foundation:
Choose your usual foundation shade and apply it. Don't forget to start with a Mattifying Primer or Luminous Primer to ensure success.
STEP 2: Contour Important Areas:
The best contour trick is to employ a contour brush in circular motions, so the perfect contour and highlight brushes have a rounded or tapered form from the handle to the oval brush head. It allows you maximum mobility freedom.
To contour, choose a hue two shades darker than your skin tone and blend well. Apply the darker foundation shade to the areas you want to contour. Contouring works well beneath the cheekbones, hairline, jawline, and under the tip of the nose. To begin contour, apply the gentle definition to the hairline and hollows of the cheekbones with contour and the tapered end of the Contour & Highlighter Brush to make a face look more angular. Then apply your contour with the Eye Blender Brush to slim the nose.
STEP 3: Mix It Up
Begin by using a lighter application. More may always be added to increase the intensity. It is far more difficult to subtract than to add! Blend well until there are no harsh visible lines.
STEP 4: Emphasize
Choose a foundation tone 1-2 shades lighter than your usual hue, or apply a highlighter.
STEP 5: Illuminate Key Areas
Highlighter or a lighter foundation shade should be applied to places that would naturally catch the light. Simply put your highlight on the top of the cheekbones, the center of your forehead and down the center of your nose. In this way, your facial features get highlighted perfectly.
If you are looking for an even more dramatic highlight, put shimmer highlight over matte highlight on your cheekbones. And tada…! Your face sculpting has been done like a pro.